Wednesday, April 5, 2017

Almost final "Contentment" quilt pictures...


At the risk of showing this "Contentment" quilt ad nauseum, I made a real effort to take some decent pictures yesterday...then I scheduled an appointment with a real photographer 75 miles away in Huntsville.

I was already making the trip for another appointment and I realized I really needed help.  I took these pictures with the quilt pinned against the outside of our log home in what I thought was PERFECT indirect, balanced, natural light.  The picture of the whole quilt view gets steadily darker as you get near the top...best made efforts...


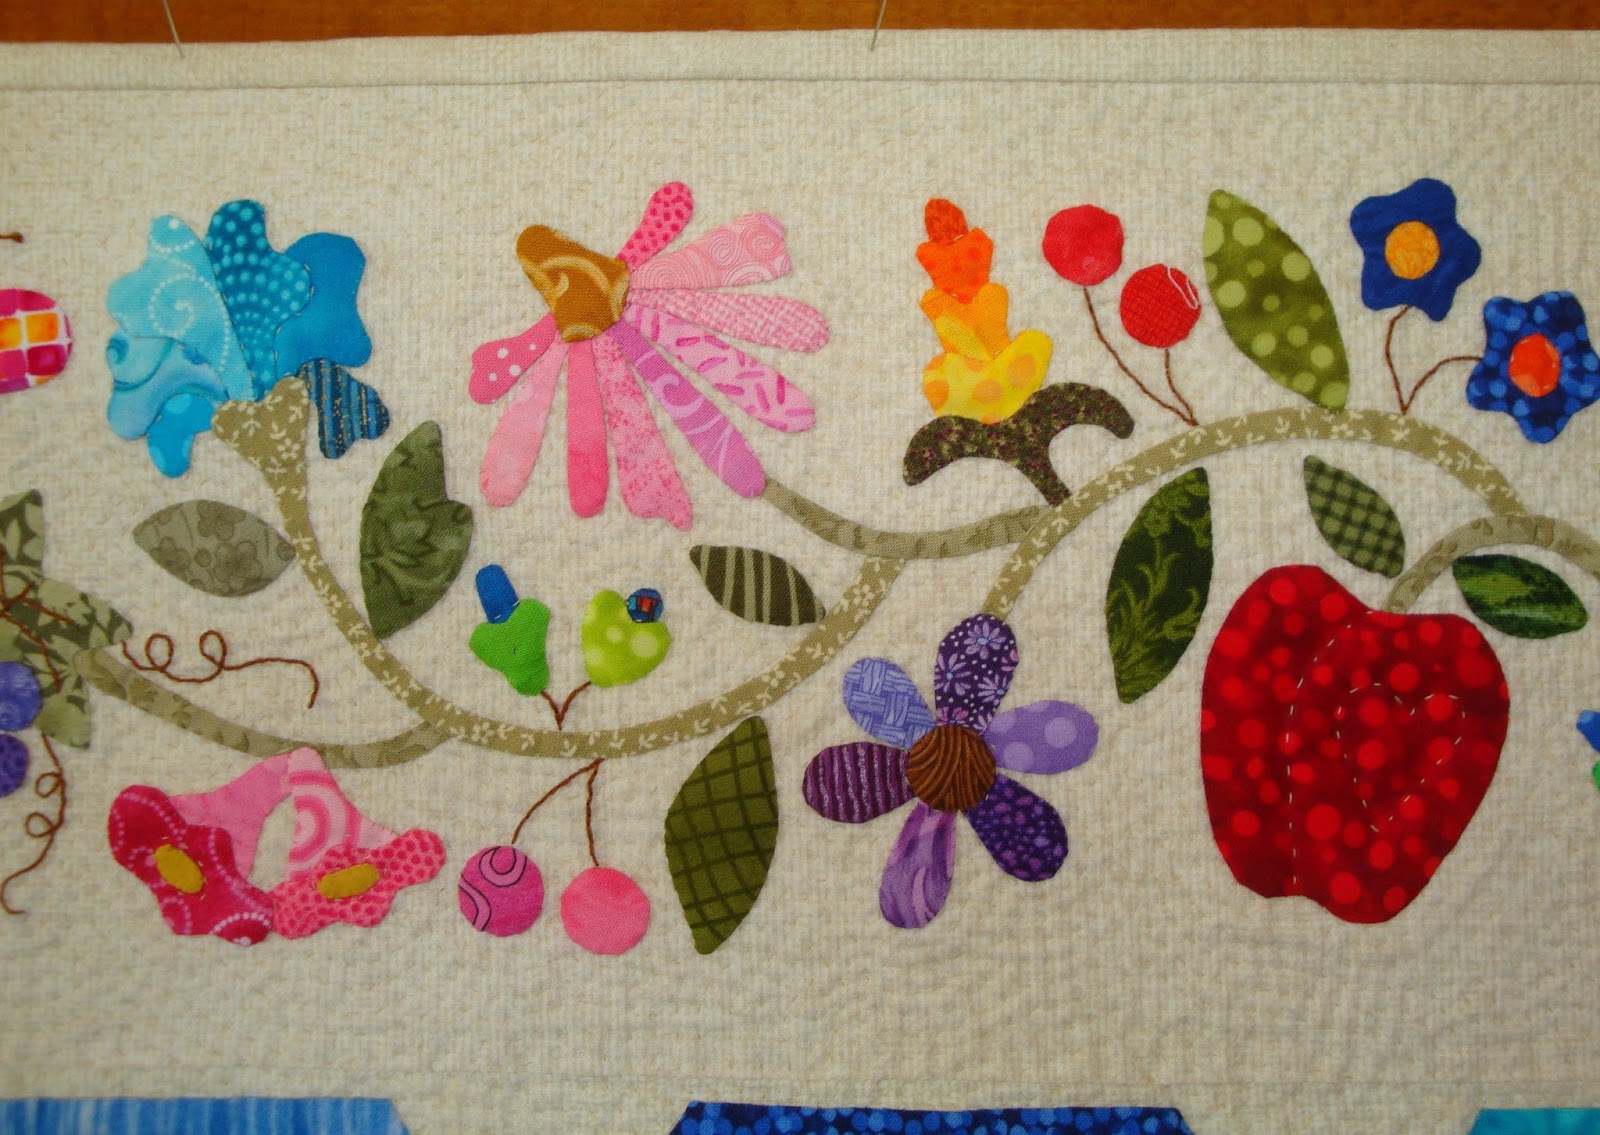
The close ups of the blocks and borders look dull and a little dark, as well. I'll be watching and waiting for my new picture CD to come in the mail!


I have gotten used to the effect of the hand quilted stippling.  At first, I thought it was too severe, but I like how it makes the applique motifs "pop."

I quilted the larger applique motifs so there wouldn't be too much puffy "popping."


The quilt top started 59 x 59 inches.  The stippling caused it to shrink a half inch on all sides, so it is now 58 x 58 inches.  Thank God it shrank uniformly so that it lays nice and flat.


It turns out that the photographer that I chose had taken most of the pictures of the Gee's Bend quilts for publication.


So I have made my Sauder Village Quilt Show deadline, and yesterday afternoon I registered online for the juried Grand Rapids, Fall Paducah, and Des Moines AQS shows.


I told my husband that his quilt may be traveling for a while.  As usual, my quilts end up traveling more than me, sigh.  I intend to go to all the shows except Des Moines.


The quilt is more square than the next picture indicates...now you see why I need a professional!


This starts the progression of the border, in order, all around the quilt.  I started with the top, left-hand corner.  This top border is the last one I stitched and applied to the block portion of the quilt.


Here starts the right border, at the top, going down.


And the bottom border, starting on the right and going toward the left....it was stitched and applied first.


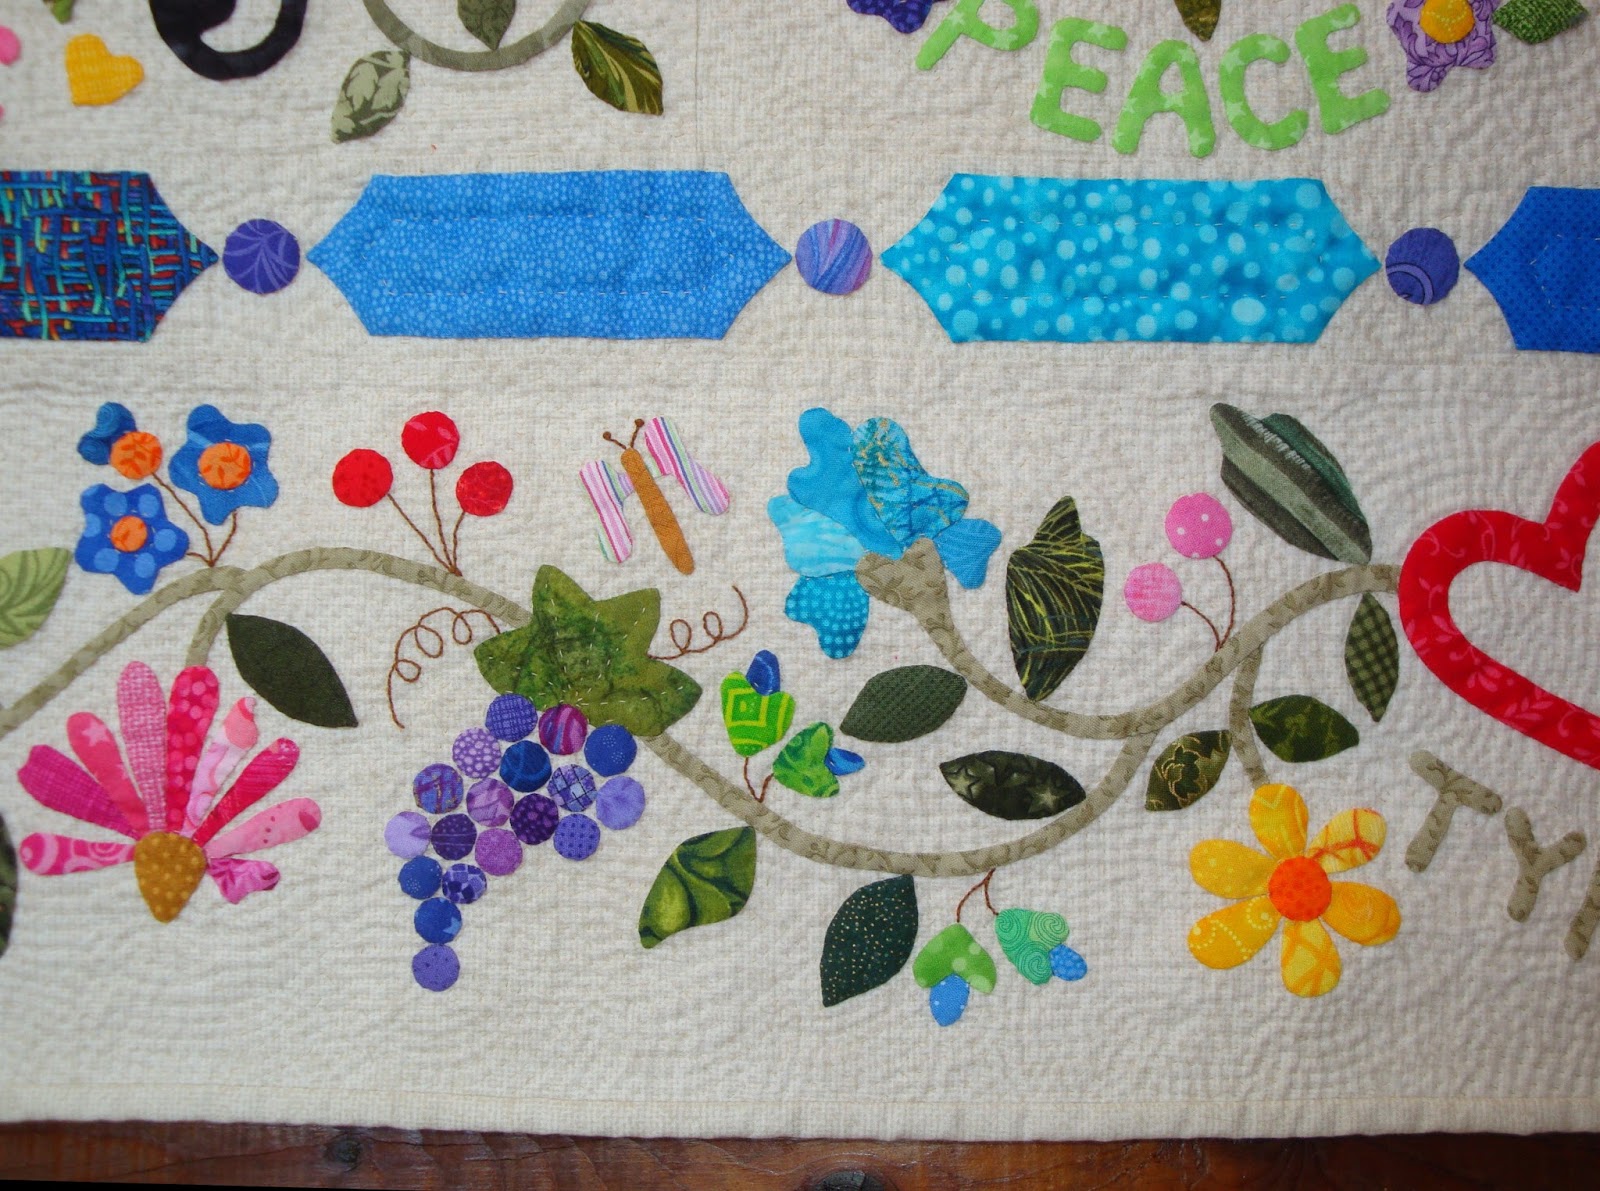
And finally the left border, starting at the bottom and working up. 

The two side borders were stitched and applied after the bottom border.  They are mirror images except I used different fabrics for the left one.


Have you figured out my trick with how I did my borders so they would APPEAR to go around corners??  It is a trick I saw on someone's posting of an Australian Quilt Show.

By applying the bottom border first, then the two sides, then finally the top, it allowed me to do each border by my applique method, then plunge each one into water to soak out the glues before trimming to size and applying (without having to dunk the whole quilt).

I find it difficult to get a quilt top back to square after dunking it when it is all stitched.  Even though I pre-wash my fabrics, I find the 100% cotton thread shrinks and can cause the seams to pucker. 

There are times I just do needle turn applique when I need to apply final motifs to corners.  I am not very good or fast at that method, but I can do it when there is a gun to my head, LOL!

It meant that I had to carefully execute the design and the process, but it worked.  I will be trying that trick again (you can easily start at the top).


Here is my label, and no...my printing is not this good.  I cheat.  I type out my label in Microsoft Word with everything perfectly center-justified on my computer.  Then I highlight all of it and go "shopping" through the font selections.

I then print it out on paper in the size that will work and trot off to my light table.  I press freezer paper to the back of my label fabric to make writing on it easier.  I tape the paper down to my lightbox, position my fabric, tape it down, then I trace the font with my Pigma pen.  The name of this font is "Kirsten ITC."

In stitches,
Teresa   :o)

Sunday, April 2, 2017

Quilting is finished on "Contentment"...


Here is is, stretched out on our lumpy ol' bed...the hand quilting is done on our anniversary quilt, "Contentment."

This is a crappy picture, but I will take a better one after I bind it.

Thank you to all of you for your love and encouragement on this project!  I could not have done it without YOU!  This is the first thing I have finished since my parents' fatal accident, and I am in a much better place now than I was when I resumed my work on this project.

Now, I am going to plunge my craggy thumb in my tub of Bag Balm and put on an old sock on my right hand for the rest of the day!

In stitches,
Teresa   :o)

Saturday, April 1, 2017

Hand quilting with a half hoop...


Dust off that half quilting hoop you have stuffed away somewhere and let's learn how to use it!  

It may feel awkward at first, but soon it will be your saving grace when trying to finish hand quilting the edges of your quilt.

In order to load your quilt, work on a table or flat surface.


The ticking is where you will pin the edge of your quilt, being careful not to attach it so deeply that you will catch the ticking with your quilting stitches.

Use study, large pins, what some call "nails" - not the fine, very bendy kind we like to piece with on our sewing machines.


Here is the very edge of my quilt.  I usually quilt as far as I can with my regular 14-inch round hoop.  The large half hoops are not balanced as nicely, and therefore a little awkward.  That is because the straight edge where the ticking is located is lighter than the round edges securing your quilt.


See my blue line...that is my reminder to quilt no farther.


The tension adjustment is just like a regular hoop.  Make sure it is loosened, ready to apply to the quilt...but not quite yet.


Turn the hoop so that the ticking edge is closest to you.

With the outer hoop pulled up out of the way (toward you), lay the edge of the quilt OVER the inner hoop, which is on your flat surface.  If you are near a corner, make sure you allow enough quilt to catch when you close the hoop.


Starting in the center, pin with just a few pins to make sure everything is lined up.  I did not leave a very wide margin of all 3 layers of this quilt so I have to be extra careful to only catch the very edge of the ticking.

You have to attach ALL THREE layers of your quilt to the ticking.


Double- and triple-check to make sure you have caught the ticking consistently with your pins.


Looks pretty good.


After I have checked to make sure that I have everything in the right place, I go back and apply additional pins between the initial pins.  Once the hoop is closed, this pinned edge will be stretched and we want the edge of the quilt to be straight and uniform with even pressure applied along the length of the ticking.


Close the loosened outer hoop down over your quilt, making sure surface is even and straight.  Tighten the adjustment screw.  


This is what it should look like from underneath.


I quilted TO my blue line, then I made a running stitch ON my blue line to keep the edge from getting weird.  That will make applying the binding easier later.


That wasn't so bad, was it??  I agree that the uneven weight makes a half hoop a little harder to balance in your lap.  I use a TV table or table to work on, often on a pillow, to support the weight of the quilt.

My hoop was made LONG AGO by Marie Products and is 18-inches wide.  I am not sure they make this particular hoop any more but I do see one on Ebay every now and then.

Look at this cute little 10-inch half hoop I just ordered with which to experiment.  It may prove less awkward, especially on smaller quilts.  I got it from Frank A. Edmunds & Co.


Now that you know, use it!  It can really help finish a hand quilted project.

In stitches,
Teresa   :o)