

I think I showed you this block that I designed before. It is going to be the center medallion for my "Little Treasures" project.


It has been languishing on my design wall as I pondered the skinny border that would come next. I need a 2-inch border - the rest of the quilt is made up of alternating pieced blocks from my friends and my LITTLE TREASURES applique blocks, all finishing 6-inches and all done in Reproduction fabrics.
That's going to be a very busy quilt, so I want a strong border, but not just a boring strip of fabric.

Ta da! Appliqued red and black stars on alternating black and red squares (these aren't sewn together yet).

OK...I can hear you now..."those are mighty small stars (each block will finish 2-inches) and lots of them...too difficult and time-consuming!
I have found a great cheat, and now I will share it with you! I made these eight little blocks as an experiment in NO TIME using this...


The step in my applique that slows me down is tracing pattern pieces on freezer paper and cutting them out. I also like to scrapbook, and these paper punches make repetitive shapes SUPER easy!
I have experimented with stars, hearts and circles. Here's how I do it...

You can use a piece of freezer paper from a roll or a loose sheet. But in the heat of hurriedly pressing multiple freezer paper patterns to multiple little scraps, I sometimes end up accidentally sticking the glossy side of the freezer paper to my IRON instead of my FABRIC. I hate it when that happens!
Now I scribble on my freezer paper to make the right side obvious with a quick glance...


Now I will know where the glossy side is...

I have been cutting out some circles at the same time so that I don't waste my freezer paper...

I like this Fiskars star as it has rounded star points, which I find MUCH easier to turn under with a glue stick. If you have a star punch with pointy start points, just ignore the points when you start gluing your edges under.
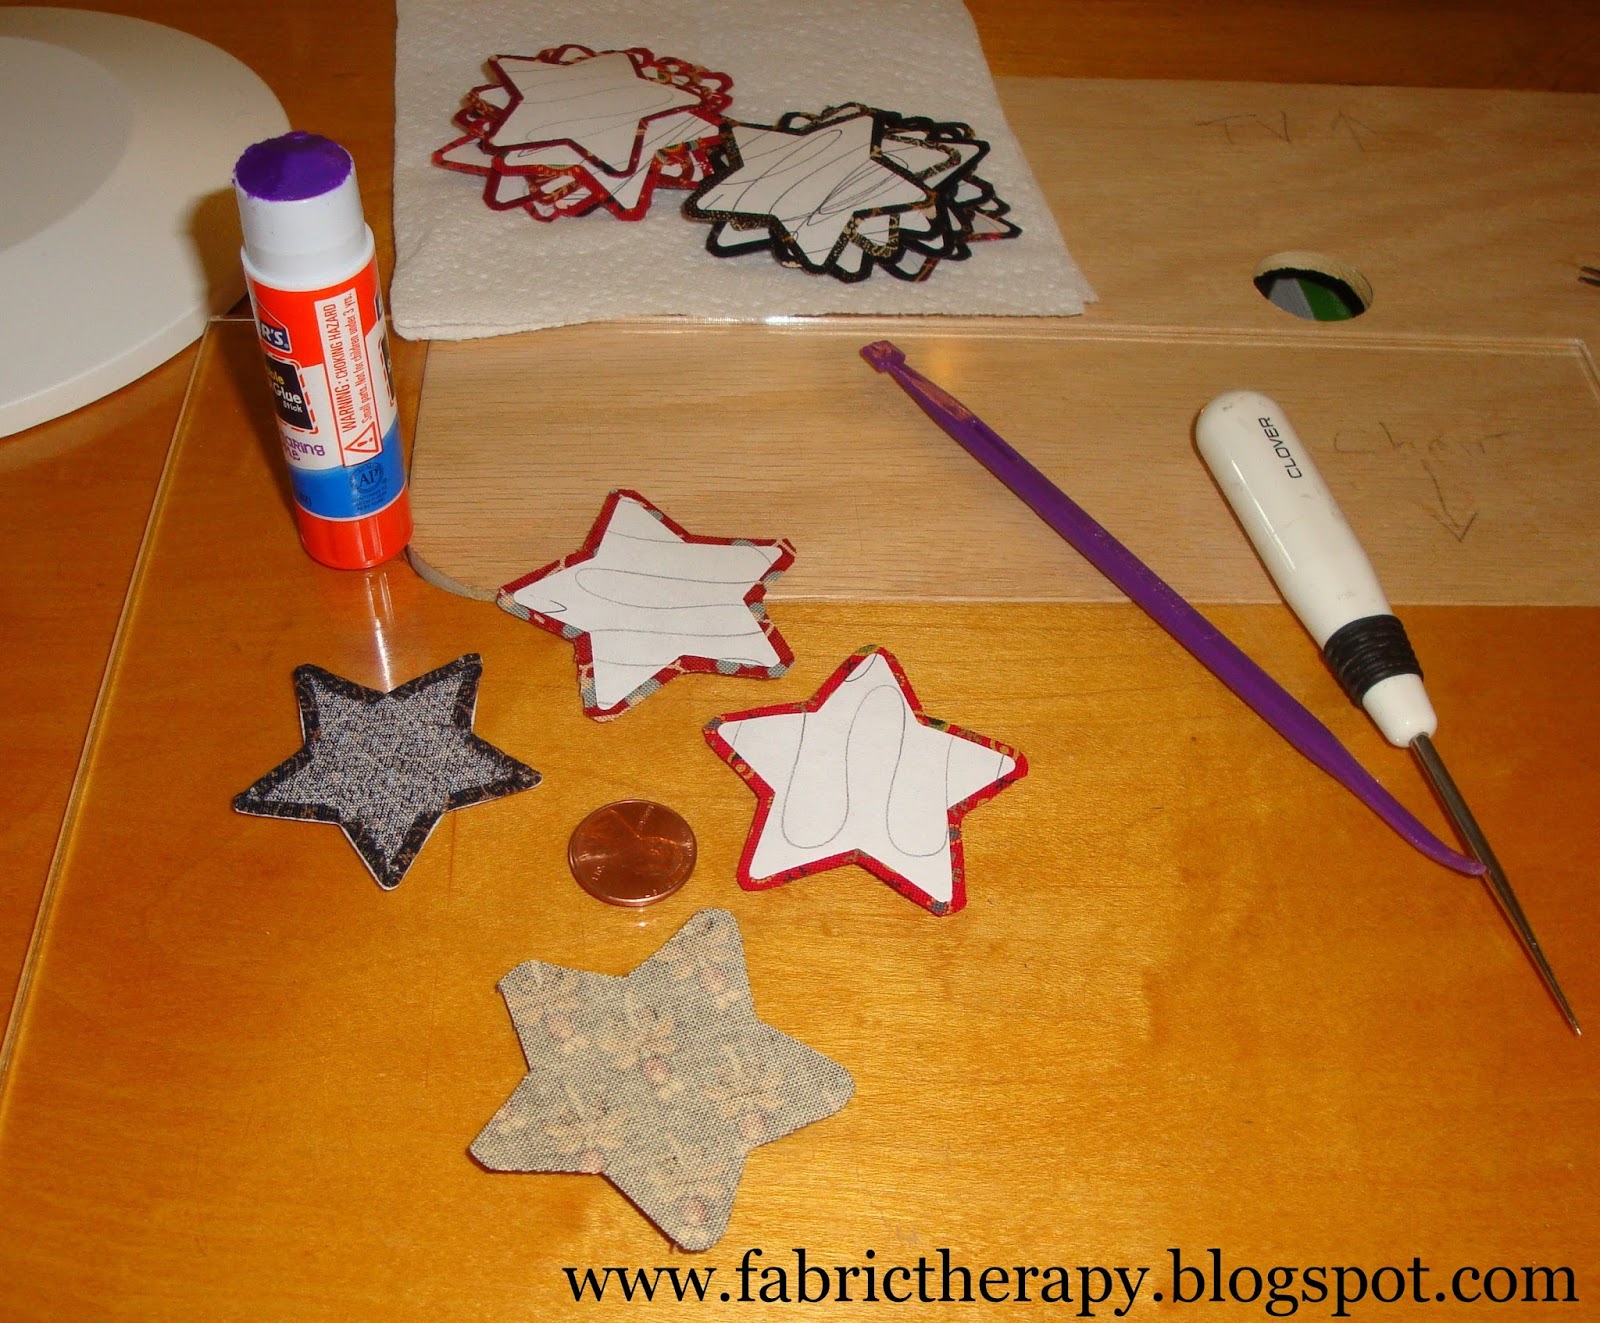
These stars measure about 1-3/4 inches across, which works well as my squares will finish 2-inches.

It is hard to see, but I cut from the edge of my allowance to the paper pattern between all the star points (where my tip of my stiletto is pointing).

Then I just work my way around, gluing and turning under.


With the state of my fumbly, numbly, cat-bitten fingers, I use my tools for everything, so I use my stiletto point to to loosen one tip of the paper, then remove the it the rest of the way with my big beading tweezers.


I will soak and rinse my squares after stitching to remove the glue, followed by pressing and trimming them to 2-1/2 inches. So, I glue-baste my stars to the center of a scrap that is at least 3 x 3 inches.
"Dot-dot-not-a-lot" with the glue-baste, not too close to the edge because I don't want to stitch through the glue.


I trim to size (after stitching, soaking, and pressing) with my 2-1/2 inch template.


Pattern weights on top of glue-basted stars...


Cool, huh? Look what else you can do with punches?


Those tiny circles are 1/2-inch, my friend. The larger circles are
1-1/4 inch. The middle-sized circles are 3/4-inch. I used to hate cutting out all those little circles from the freezer paper! With the punches, this is easy-peasy!


Now they are ready for gluing the edges under!

All pressed an ready to put away.

This is what I can do with some of the smallest snippets of scraps I save and they work up really fast. I am storing them until I cook up a plan for them...

They make all kinds of punches...shapes, squares, HEXIES, circles. I'm just saying...
In Stitches,
Teresa :o)


