Wednesday, April 11, 2012

STASH ORGANIZATION: Part 4 - Tool/Supply Storage and My Quilt Cave Work Space


This may sound weird, but I think sewing/quilt construction have a lot in common with preparing food.  I see patterns as recipes and my stash as ingredients.  Maybe my sewing machine is like my mixer or stove...the place where all the ingredients get blended and "cooked" together into a fanciful fabric banquet!


 I have an old quilt next to the sewing machine for Weasley...if it wasn't there, he would just be lounging on whatever was there anyway...


See?  Now that I pull the camera back so you can see the space (and stop cropping out the ugly areas) you can see just how unglamorous the space really is.


No...not a noose for when seams don't match...a drop down extension cord for when I put up a temporary work table.


I could not put a shelf unit where the water comes into the basement, so I just use second-hand shelves to connect the ones on either side.


I approach my sewing space and tool storage as I do my cooking area and kitchen gear.  I like useful tools, and they need to be handy so that I can lay my hands on them when I need them!  There are utensils, pots and appliances that I don't use often when I cook, so those don't occupy the choicest storage spaces in my kitchen.  So it goes, as well, in the quilt cave.


I have boasted (and lamented) that my sewing area is in the basement...the quilt cave.  It is a shared family space and also has the added excitement of possible flooding due to sump pump failure, extreme heavy rains, or the storm sewer backing up. 


We've had a few inches of water down there twice in the 16 years we've lived here.  This part of Michigan used to be a swamp with friendly dinosaurs splashing around, and our house basically sits in a hard clay bowl...as a result, we worship our sump pump (in the corner...just beyond the cat). 


Therefore, the basement isn't finished and the collection of area rugs that is "patched" together in the traffic areas can be rolled up quickly and dragged upstairs if we notice water sneaking in around the edges down there (if we are home...).


All this house history explains why I set up my sewing area the way I do...it all seems temporary and movable.  I would love some built-in fixtures with drawers, work surfaces...a ceiling...but the distant memory of water/moisture removal makes that not likely in this house. 

The plastic shelving units that line most of the basement perimeter can get wet...the bottom shelves hold plastic tubs that can tolerate a few inches of water.  Some fixtures are up on blocks, bookcases are up off the floor, tables/fixtures either fold up or are garage sale/curbside finds.  A dehumidifier is on standby.  I'd like to think I am always ready for the next flood.


Our basement is "L-shaped," and everything is set up so that our old TV, on a lazy Susan, can be viewed from anywhere down there (priorities...).  Therefore, my sewing space centers around the bend of the "L" and the one metal support column that supports the house I-beam.  That pole (and sewer pipe...lovely) would be out in the middle of the floor if I had not set up around it.

If this was a TV reality show, at this point I would say "with all this in mind, DESIGN THIS SPACE!"

I like having my tools readily accessible as I sit in my space and sew, design, quilt, and craft.  As Julie Morganstern preaches in Organizing From the Inside Out everything must have a home.  If this weren't the case, I wouldn't have anywhere to work because every surface would be covered with stuff. 

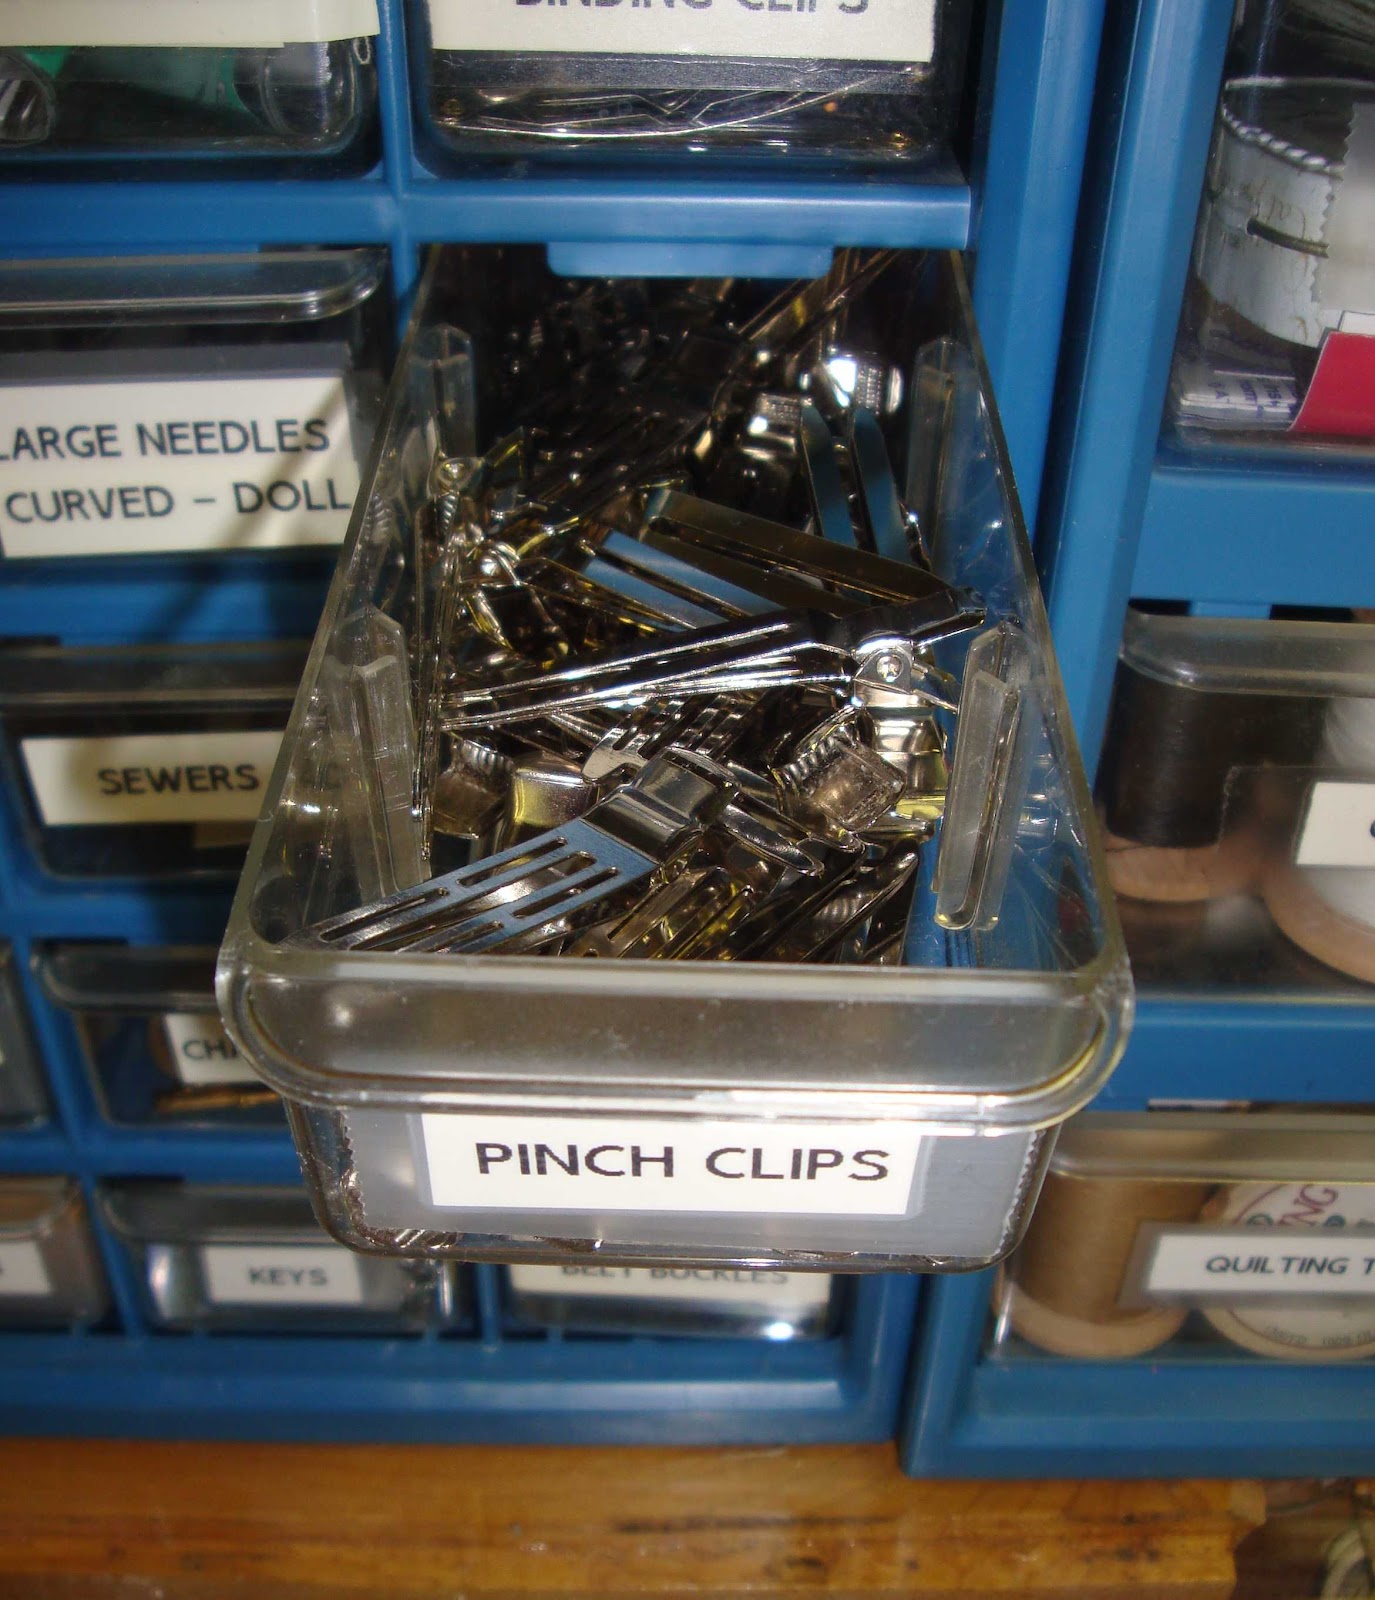
Labeled, plastic, drawered storage, both on the floor and on tables helps everything have a home and keep the surfaces from being cluttered.


I found these drawer units on sale years ago...I think they were meant for hardware, screws, etc., but they are perfect for small tools and supplies.


I do label these, and if I need to change labels, I just stick the new one on top of the old one(s). 

I used to think I would just memorize where things were, so I wouldn't have to label.  Yeah, right. 


I guess I thought I would just sit there, opening and closing drawers, until I found what I needed.  What a silly waste of time!


The drawers are easy to move around, to make sure that the ones I access the most are the fastest and closest to get to.


I like that the drawers also serve as a container that I can remove easily and take to where I am working (as long as I put it back when I am through).


I used to use a sewing box for tools, but the box was hard to store, not easy to access, and didn't hold everything.  It was deep, dark, and cavernous...I would have to root around it it for a while to find something just out of reach at the bottom...another silly waste of time.


Having tools easy to access and not lost eliminates re-purchasing tools that can't be found...having a home makes the tool, or drawer, almost fun to put away...and it is a quick and satisfying exercise.


In her book, Julie preaches that if the storage or container is inconvenient or hard to access, it discourages the "equalizing" step...putting things back...this is so important if you are to maintain and enjoy a newly organized space (or have any hope of finding the tool the NEXT time you want to use it).


I place 3 out of 4 of these little-drawered units on top of a treasured family heirloom.  This sewing machine cabinet was designed and built by my husband's grandfather, Arthur Joy Rawson, for his wife, Margaret Byrd Rawson.  When she asked if I would like it, I jumped up and down like a 4-year-old!  It is so charmingly practical!


It used to hold a Necchi sewing machine, so there is an interesting hole where the machine used to sit that I cover with a piece of Plexiglas.  At some point I may fill the space with some antique sewing machine attachments.


Arthur designed and built each drawer to Margaret's specifications.


Rather than deeper drawers fitted with short dowels to hold thread, she wanted shallow drawers to store thread on its side so that she could select her spools quickly and easily.


He affixed little pieces of wood to the floor of each thread drawer to keep things from rolling out of place.


I love that he put label hardware on the drawers.  I can easily label and relabel things as needed.


I find the shallow drawers very efficient storage space for tools and items that store practically flat.  Scrap booking people tell me that pens should be stored flat, so these drawers are perfect for my Pigma pens. 


I keep my good scissors separate from my paper and junk scissors.


No digging for things...everything is easily visible.


This is my grab and go kit for doing hand quilting...most of the hand quilting tools that I love are stored in this zipper pouch I can grab it quickly before going to a sit and stitch (although I see I need to add a couple of finger cots before running out the door next time...). 

I don't keep it stored with the quilt I am working on just in case I need that thimble, etc. while working on something else (the hair scrunchy on the spool keeps the loose end under control...it looks kind of silly, but works).


This really deep drawer has a removable divider.  Margaret told me that Arthur designed it to store commercial clothing patterns (without the divider) or taller items.  I store large zippered project bags in there.


The center top drawer fit around the base of the sewing machine...I love how he designed this!

The cabinet has a knee bar and built-in foot pedal holder, which I temporarily removed so that I could add some storage underneath.  As lovely as it is for storage, the dimensions of the small work surface are impractical for piecing quilts using a sewing machine installed in this cabinet.


I store two 3-drawer plastic storage units, stacked, to hold my smaller rotary cutting rulers and cutters.

Small square rulers.
Larger square rulers.

Specialty rulers like my Pineapple Rule, Companion Angle, Easy Angles, Tri Recs, etc. store easily.  Instructions that came with the rulers are in the bottom of each draw, under the rulers, so that I don't have to go searching when I need help.

I had always wanted pegboard to hang rulers on, but I don't have wall space...this solution works better because I can store the directions with the rulers.


I have a few sets of those Marti Michell templates, which are all in one place.  Each set has multiple pieces, which I hook together with these rings.


The bottom drawer hold scraps of template plastic.


I store tall pads of drawing paper, my revolving rotary mats and  Art Bin dividers that aren't currently in use beside these drawers, a few inches off the floor.


To the right of Arthur's cabinet, my square, brown, wooden table is the base of my work area.  I bought that table for $15 from a used restaurant supply store 20 years ago when I lived in Galveston, TX.  I've really gotten my money's worth out of it! 


It is really heavy and sturdy (the legs are solid wood, 4" x 4"), so I don't think twice about stacking other second-hand fixtures on top of it for additional storage.  I found the brown shelf and white cubby hole cabinets for $10 each!  A little cleaning and some paint made them a valuable part of my storage set up. A fourth set of plastic drawers holds things I don't use regularly.


I keep a few of my favorite movies downstairs and have a CD boom box for listening to books and the radio.  With an old TV, DVD player, VCR, and my stash, I could entertain myself for WEEKS down there!  (The lack of a quilt cave bathroom is the only snag...)


It is fun combing thrift shops and garage sales for storage fixtures for my set up.  It would be fun to make a pretty arrangement, one that might make Martha Stewart take notice, but since I am in the cave I just worry about function and practicality.


I have an odd $5 end table beside the wooden table (and behind the small folding table work surface).  This allows me to store my large 15", 16.5" and 20.5" square rotary rulers standing up between things (hiding to the left of the yellow arrow, below).  The two big plastic drawers hold quilt hangers and larger quilting odds and ends that I don't need immediate access to.  I consider these drawers "catch all" drawers for things I don't know what to do with and that don't really organize very well...odd stuff...if you were looking for my chaos corner...here it is!


Long rulers reside in commercially-available slotted storage racks which joyfully fit in 2 of the cubby holes.  Other things stored in this salvaged cubby hole cabinet include:
  • spray starches and quilt soaps
  • tape dispenser
  • freezer paper on a roll
  • a roll of narrow paper (for designing applique borders)
  • a duster
  • a back scratcher (big grin)
  • a stack of index cards, always at the ready for renaming a bin or inserting in a project/UFO box
  • lint rollers (to remove the cat from projects)
  • an old vitamin bottle for discarded needles and pins
  • some containers of pruned scrappy squares
  • a few handy tools
  • my magnet wand for picking up lost pins/needles.

I have more drawered storage under the wooden table, with my bulky light box hiding on the top of them, just under the top of the table.


I'm addicted to good labeling !  Making a nice label for a permanent storage area is my reward for getting it organized...it's the little things...


My batting scraps, large yardage for quilt backs, etc. are stored in the creepy area under the basement stairs (also family costumes).


I store my 3 large folding tables against these bins until I need more work space or friends are over to sew (BIG grin).


I store my rolls of fusible web and interfacing, large quilting templates, paper, etc. in tubs on top of the "wall of stash".  They are light enough that the larger tubs, stored up high, aren't too difficult to access.


My new Jenome 6600 has this excellent raised work table.  I am able to store my machine accessory box right underneath, and it has enough room to hold a dozen bobbins, filled or empty.

 
Due to the cat, my pincushion is not convenient...if it is convenient for me, it is TOO convenient for him.  My buddy Ola made me this little "needle minder" which makes grabbing a needle quickly REALLY easy to do.  I use it both at home and on the road. 


My pressing table is a tray table that I got a great deal on because it was scratched.  My June Taylor pressing board fits well on it.


My 14" x 14" Art Bin containers fit on my salvaged, mismatched shelves ONLY because the basement is unfinished and they just fit between the wall studs.  See?  Not so glamorous. 


I guess if I were to install wider shelves I could drywall this one little wall, but as long as the bins are in place, no one can see how ugly the wall really is.  This stairwell wall is the only non-concrete wall in the whole basement.  I share that space with my daughter's computer table...for now (evil grin).


The only place for a design wall down here is at the bottom of the steps...I really need to replace this pink blanket (left over from college, believe it or not) with something decent.


OK...this WAY-to-long post is finally over.  The last installment of this 5-part series will be about organizing books, patterns, magazines, all kinds of quilt media.  Thanks for playing along!

In stitches,
Teresa  :o)

Monday, April 9, 2012

STASH ORGANIZATION: Part 3 - UFO's and Kits - Improving Their Odds of Being Finished Some Day


Quilt projects can be like relationships...we've all jumped into one or two too quickly or lost interest at some point.  With quilt projects, turned UFO's, at least we don't experience that awkward "I-just-ran-into-him (her)-in-public" moment...maybe just a head slap or twinge of "what was I thinking when I started (or bought) THIS?!?"


UFO's can be a source of embarrassment and shame for many quilters.  I gave that up.  I freely admit to having 31 UFO's in various degrees of doneness in my stash, right now...full disclosure.  They range from partially cut out to needing binding.


OK...so how do I make the most of my UFO and collected kits situation?


Well, keeping them organized can be most of the battle.  If they are organized and easily approachable when I have a few minutes to sew, they have a better chance of having their shame status changed to "DONE."


Where to start? 
  • LOCATE - go through your stash and find ALL UFO's and kits (time to fess up and face the music...)
  • FIND ALL PIECES OF EACH UFO/KIT - are the blocks here, the borders there , and the binding no where to be seen?
  • LABEL EVERYTHING YOU CAN (before you forget MORE important details...)
  • SORT AND BE BRUTALLY HONEST - divide your sorting space in half...the UFO's you still want to finish on one side, the ones you've "fallen-out-of-love-with" on the other side
  • PURGE - either find another home for the unwanted projects or re-purpose them
  • SCOPE OUT A STORAGE LOCATION IN YOUR SPACE - even if your space is small, make sure UFO's are prominent - let's face it, it's hard enough to work on them WITHOUT having to dig for them...out of sight equals out of mind
  • CONTAINERIZE - as long as each UFO is in labeled bag, zippered pouch, etc., they could be placed in one BIG container if you don't want to give each one a separate container
  • SET GOALS - set REASONABLE goals - choose one thing and finish it...now, didn't that feel good?


I post about UFO's to give you hope, not to shame you...and to give those worthy projects a fighting chance.  I'm sprinkling in pictures of some of my UFO's (see? you aren't alone!). 


So now you have sorted them all...did you find projects that don't excite you anymore?  Look at each one honestly and decide if you are going to fish or just cut bait...put each project in the "to do" pile or the discard pile.

Hey...no shame in putting things in a discard pile.  You have many choices:
  • give it away - have a quilter's "swap meet" with your buddies
  • garage sale - I LOVE stumbling on a quilter/crafter's garage sale!
  • re-purpose the pieces - if you have only cut things out, can you use the pieces in another project?
  • re-purpose the constructed parts - can you turn the blocks and units that you've finished into smaller project(s)...like a table runner, wall hanging, coasters, etc.?  can you finish it in a smaller version as a donation quilt?
  • feed the freebie scrap box at your LQS or put components in baggies, distribute to scrappy quilts you know, and watch the smiles erupt!
  • simply throw it away - maybe the project is so old, the fabrics so dated, the construction so poorly done (we all become better quilters with time, don't we?)...sometimes the only decent thing to do is walk away
OK, so now you've done a sort, and hopefully found all the pieces...a word about labeling.  If you are going to have a project on the shelf for a while, maybe it's a good idea to do some labeling before you forget important details.


I love freezer paper for labeling things that might sit for a while.  Masking tape, even painter's tape, will leave a sticky residue on fabric over time.  Many LQS's label their blocks-of-the-month with masking tape.  Hey, THEY didn't know you were just being "squirrel-ish" at this time, putting "nuts" away for later construction.  You may need to re-label that BOM before putting it on the shelf.  This also works GREAT for that kit you just bought...more and more shops are putting together kits for customers.  Just make sure you understand and label the kit components before you squirrel them away.

Quilt shops deal with SO MANY fabrics, BOMs and kits...don't count on them to be able to sort out your project when you finally get around to making it!


If you are worried about the freezer paper coming off, don't be a afraid to use a hot iron!  When I use freezer paper when doing glue stick applique, sometimes my freezer paper looks a little scorched!
 
Experiment with your freezer paper to determine how much ironing is required for good temporary adhesion between the shiny side of the paper and your fabric.  Sometimes the finish on unwashed fabric can hinder this adhesion, or the quality of the freezer paper (hence my need for scorching sometimes- don't worry, the paper will scorch before your fabric!).


I just peeled this label off (then I re-ironed it).  It really works.  I label everything now...I can't tell you how many times I've run across a stack of squares or strips that I started cutting out that I have NO MEMORY OF!  Now I iron a little note to the top piece in the stack. 

I have started inserting an index card in all projects where I write the name, the start date, and jot any other important details.  It goes in the box or bag with the project. 


Sometimes I cut swatches of prominent fabric with my pinking shears and I staple, or clip, them to the index cards.  I will use these swatches later when I archive the finished project (it takes no time to snip these swatches now, when I have the fabrics out...later it would take too much time to go searching for the fabrics). 


If I am working from a book, I write down the book and page number on the card.  If I am working from a doodle or piece of graph paper, it goes in the box.  If I used a project pulled from a magazine, I put the magazine, or removed pattern in a sheet pocket protector, in the bag or box as well.


I then label the container, bag, whatever, with an index card and a fat black marker.  I place the index card label INSIDE the container or bag and use the contents to hold it in place.
 

This is not a permanent label.  When this project is finished and no longer needs a container, I want an effortless transition...reusing the container for the next thing without scraping off the label.

A good temporary storage container for a UFO can be a pizza box (clean, unused please, big grin).  They don't take up that much space, stack nicely and uniformly, can be recycled easily either in your stash or in your household garbage, can be big enough to store finished blocks (without folding your nice, pressed, finished blocks), and they are cheap!  I have used these before in my stash and when doing group projects.  I am fortunate to live in an area with a GFS, a place that sells bulk food, restaurant items and disposables.  Maybe some buddies will share the cost of a small bundle (very reasonable!) and you can have a box-folding party (and order a pizza!).


I have bought them directly from pizza places...one place didn't even charge me for the handful I requested.  Almost every small town has a pizza place!  I either write directly on the box with my fat black marker or use masking tape.  When I reuse the box, I just add another layer of tape on which to scribble a new label.


Some of my UFO's are l-o-n-g-t-e-r-m quilt projects...scrappy in design, the containers "fed" every time I have just the right scraps to cut up.  These quilts will be log cabin-, postage stamp-, or half square triangle-rich gems, and every day I am closer and closer to being able to finish one (my applique basket project, pictured above, is also in this category).
 

I have 120 green and neutral log cabin blocks ready to go, along with a handful of scrappy, free-pieced heart blocks.  The decision about the final, outer border is what is holding me up on this one.  The right decision will come to me one day, then I will take that container of blocks down, and get it done.


Cleaning up this part of your stash will make you feel better about planning future projects.  Some times the dark corners of what we are saving can really drain our creativity and fill us with all kinds of dark feelings and guilt that can kill our quilt muse.

Slowly, but surely, I am attacking the UFO's.  They don't stop me from starting new projects.  I know I will get to them...sometime.  In the spirit of REALLY coming clean, I will share that I have never finished the first quilt I started...it is my oldest UFO.  


I started it in August of 1982, right after my terminally ill, beloved Grandmother gave me her last quilt...a Grandmother's Flower Garden (not pictured here), hand-pieced by her from my sewing scraps, which she had asked me for (I had no idea what she was up to!), and hand-quilted by her quilting group.  I was almost 22, and swore to myself that I was going to learn to quilt, to carry on her legacy.


Naturally, as a stupid, impatient, "invincible beginner," I picked wisely for my first project...also a Grandmother's Flower Garden, hand-pieced (NOT by English paper piecing, but turning those Y-seam corners...).  Dumb-dumb-dumb...


I used what I had...scraps of crazy, bright, cotton/poly blends and the old royal blue, cotton/poly curtains that I had sewn to hang in my college dorm room when I first started at Auburn (school colors are orange and blue, afterall...).  I had a few 100% cotton calicoes, but looking back now they were awful!  What was I thinking...


This thing is so bright that it vibrates and hums.  I have an arrow pointing to the curtain fabric (that blue poly blend NEVER faded...even after hanging in the windows of a sunny, southern University dorm room for 3 years!)  The other arrow points to the date I started it...like I will EVER forget this nutty story!  Oh, I will finish it some day...as homage to my Grandmother and to just be able to say that I did it.

Have courage (and be gentle and forgiving with yourself!) if you choose to work on this part of your stash!  The next installment of this organization-a-palooza will discuss tool/supplies storage and equipment set up.

In Stitches,
Teresa  :o)