I finished the 12 hand-appliqued nine inch blocks some time ago ("Folk Art Applique," Lori Smith, From My Heart To Your Hands Designs), but was not happy with the original pattern's outer border.


I have always wanted to try an appliqued scallop border, so I decided to deploy one as the inner border on this project.


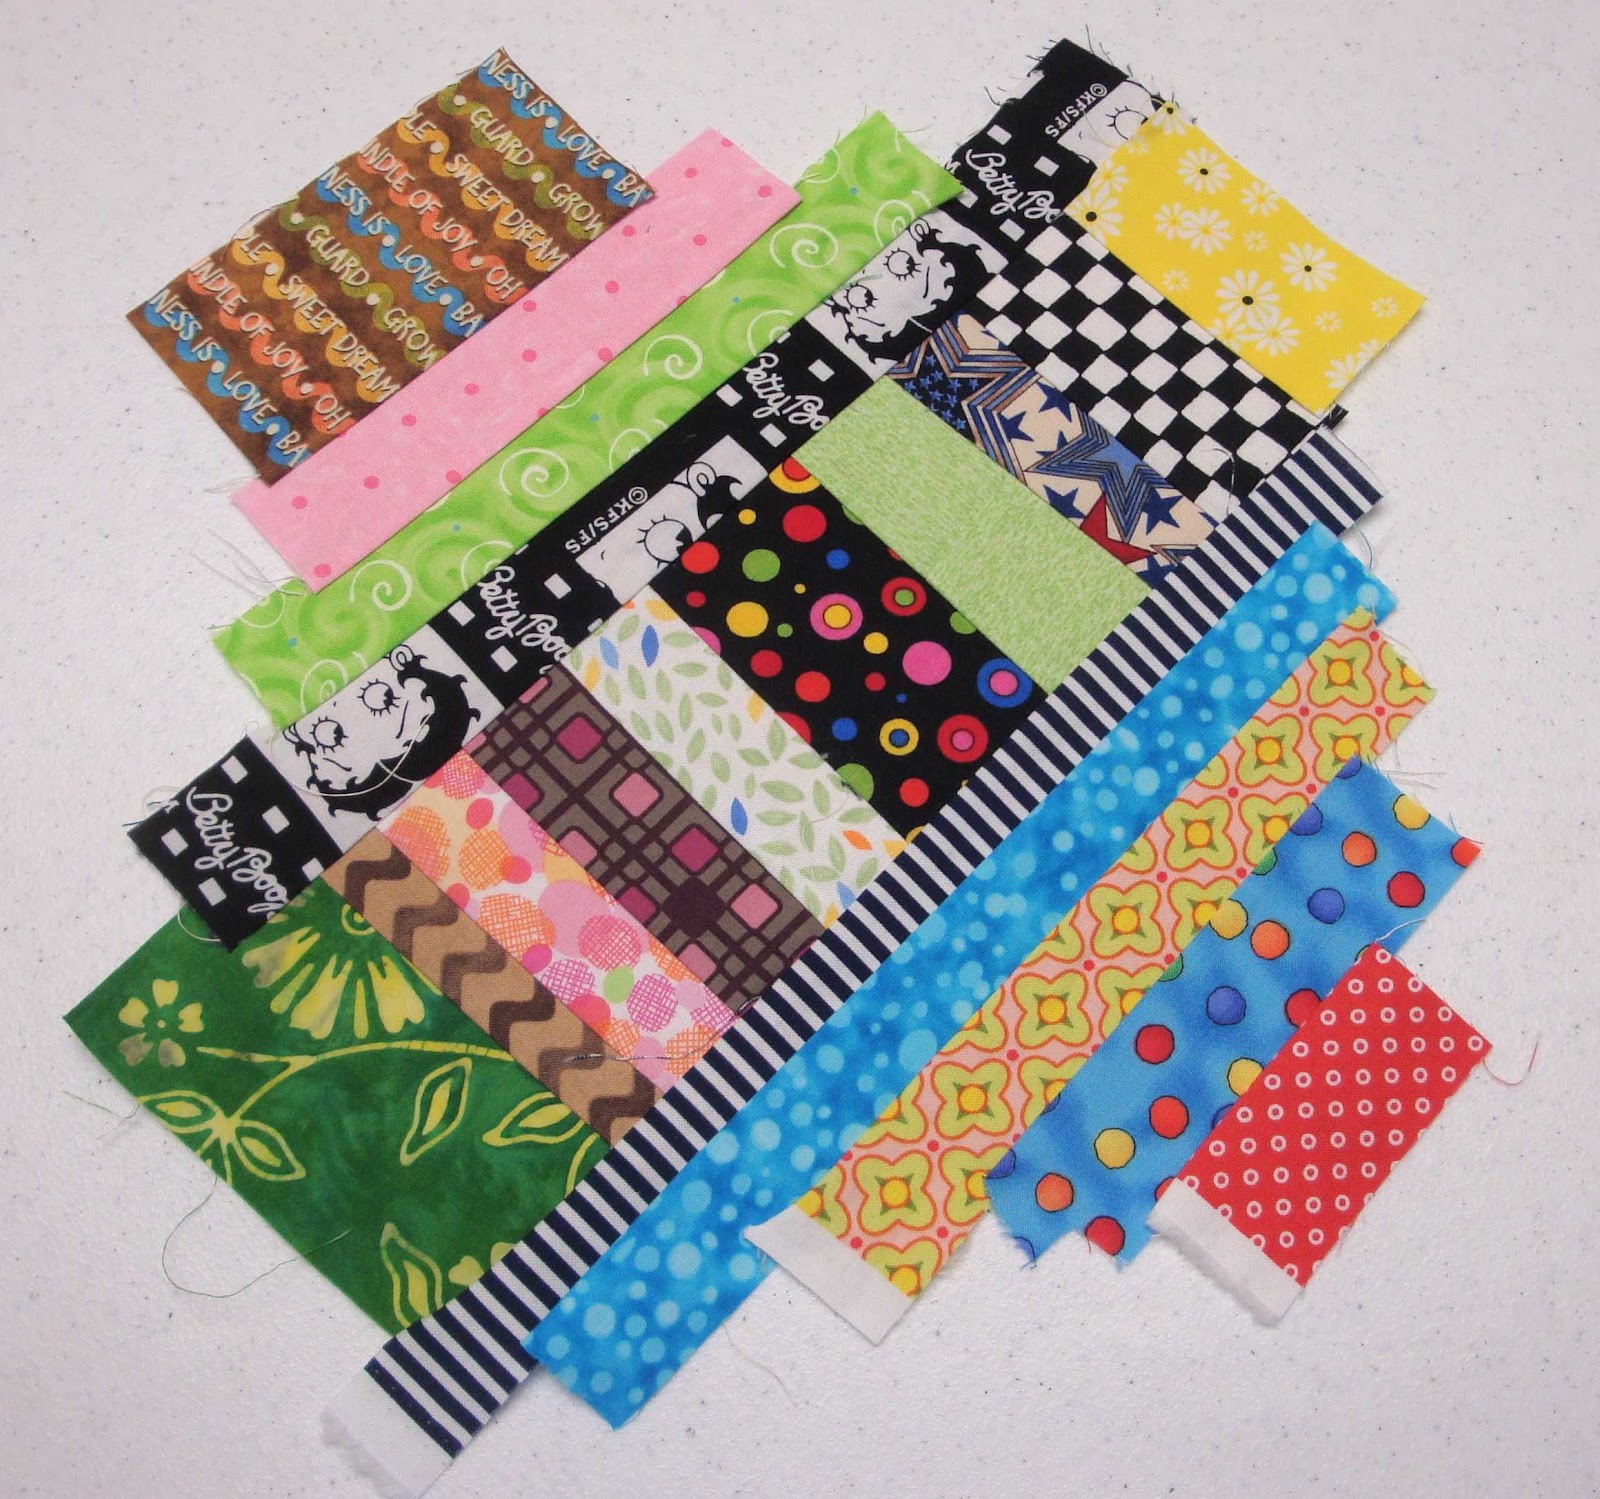
It took several days to just decide on the color for the scallop.

When I sewed all the finished blocks together, all I could see was green (from all those funky leaves and such), so I knew that I needed a stand out color statement.

I auditioned all the different fabrics I used for the blocks one by one, but when push came to shove I just picked my favorite color (fabric choice is my least favorite thing!). The red, hot pink, orange and yellow were a little too hot bold, and I thought they pulled the eye away from the blocks. I just wanted this little border to keep the outer border design from running into the blocks, basically to just keep the peace.

I will applique hearts, stars, or moons...one or more of the motifs from the inner blocks...in the corners before moving on the the outer border.

I've been thinking about many different things for the outer border...symmetrical/not symmetrical, vines with fruit, flowers, both? When grapes popped into my mind, I thought they would work for many reasons:
- fun to make
- gives me an excuse to enjoy a glass of wine while working
- not overly done in projects I've seen lately
- purple is another one of my favorite colors, especially when placed near blues
- the purple will seem subtle, like the blue inner border, and not overpower the strong statement made by the inner blocks
- I would need green leaves and vines to grow grapes on...third favorite color, especially when blended with blues and purples
- I could use LOTS of different purple fabrics meaning NO FABRIC CHOOSING! Win-win situation, I would say.

I will not make it a continuous border...I will break it up into pieces so that it doesn't overpower the blocks. I've got LOTS of little grapes to make!
My buddy Ola just gave me those scissors pictured above. They are Karen Kay Buckley's scissors

I also got to use my blue flexible curve to help me to draft the vine segments on my pattern. And the forceps help me pick up/manipulate the little grapes and remove the ironed-on freezer paper, after I use the glue stick method to turn under the fabric edges (curious about the glue stick applique method? check out the tutorial on my blog tool bar).
Having the right tools to use makes the project easier and makes me a happy camper!

I would love to get some input about irons. I am not happy with my Rowenta. It is the second Rowenta I have bought, and they both have LEAKED. It also doesn't seem to get hot enough for me (especially since I have to use it "steamless," due to the leaking...).
The iron shown above is a really small, older Black & Decker travel iron that was my mother's (handle actually folds over to make it pack flatter - and it doesn't leak, even though it folds!).
Other features I applaud are that it gets REALLY HOT and it doesn't turn off. I wish it had a little more weight on it's "butt" so that it wouldn't fall over so easily. Weasley caused it to fall over and bump into my flexible curve, which now has a permanent "melty" place in it.
I had a Black & Decker YEARS ago when I lived in Galveston, TX, that got nice and hot, but it disappeared during a weekend quilt retreat (whoever you are, I hope you've enjoyed how amazing that cheap iron was!).

I'm a little afraid to just buy another Black & Decker iron, hoping they are still hot, and just about every iron shuts off now. Any suggestions about something you use that is marvelous??
I don't want a lot of bells and whistles...I'm mostly interested in heat, but having it not shut off would be great. I am totally used to turning off and unplugging the iron when I leave the quilt cave, so I'd probably be happier with one that wouldn't automatically shut off.
I guess I have a few grapes to make...
My next post will be a tutorial of sorts about how I organize my quilt cave. I taught a Lunch Lessons mini-seminar at the shop where I work on Stash Organization/Scrap Maintenance last week, and the pictures will be a good reference for the people who came to listen. So, it may be a repeat for those who endured my guest posts on Stash Manicure some time ago...sorry!
In stitches,
Teresa :o)