These are pattern weights. After my last post, I got several emails asking about what they were, so I thought that I would do a detailed tutorial about them. (For some of you, this may be like watching paint dry...sorry!)
Originally, pattern weights were made to weight down...(wait for it)...PATTERNS! This picture is from Jess at the "Craftiness is Not Optional" blog, where she has a nice tutorial about making your own weights from washers. I have to admit, I hate pinning those tissue patterns...I wish I had known about pattern weights years ago.
These, below, are made by Dritz, and I just found some like these this weekend at JoAnn's that will be in give-aways when I reveal my Quiltmaker block this week. Stay tuned!
These are of bean bag construction, filled with heavy metal shot, I think. They are too heavy and dense to be rice or beans.
I have some pieces prepped to make a rose to demonstrate one of the ways I use the weights. The rose will be a single unit in a larger block, so I will be working directly over the pattern instead of attaching the unit to a background fabric...attachment to the background fabric will come later. By working over the pattern, I don't have to worry about a light box at this time, and I like the accuracy.
The edges without the dashes have been glued under. My pattern pieces are numbered randomly...the numbers have nothing to do with the order of construction. I will leave the freezer paper on this time when building this unit. You can leave the paper on all the time, if you like.
If you are worried about getting glue on your pattern, you can place a piece of plastic or tracing paper between the pattern and your work. I work right on my pattern because I use TINY drops of glue to baste the pieces together. If I get glue on my pattern, I know I am using too much glue!
My freezer paper pattern is pressed to the RIGHT side of the fabric. Every edge that is tucked under another piece has dash marks on the edges that are tucked under. That way I remember to leave about a 1/4 inch allowance on these dashed edges when cutting instead of the usual 1/8 inch I use on the other, undashed, outer edges.
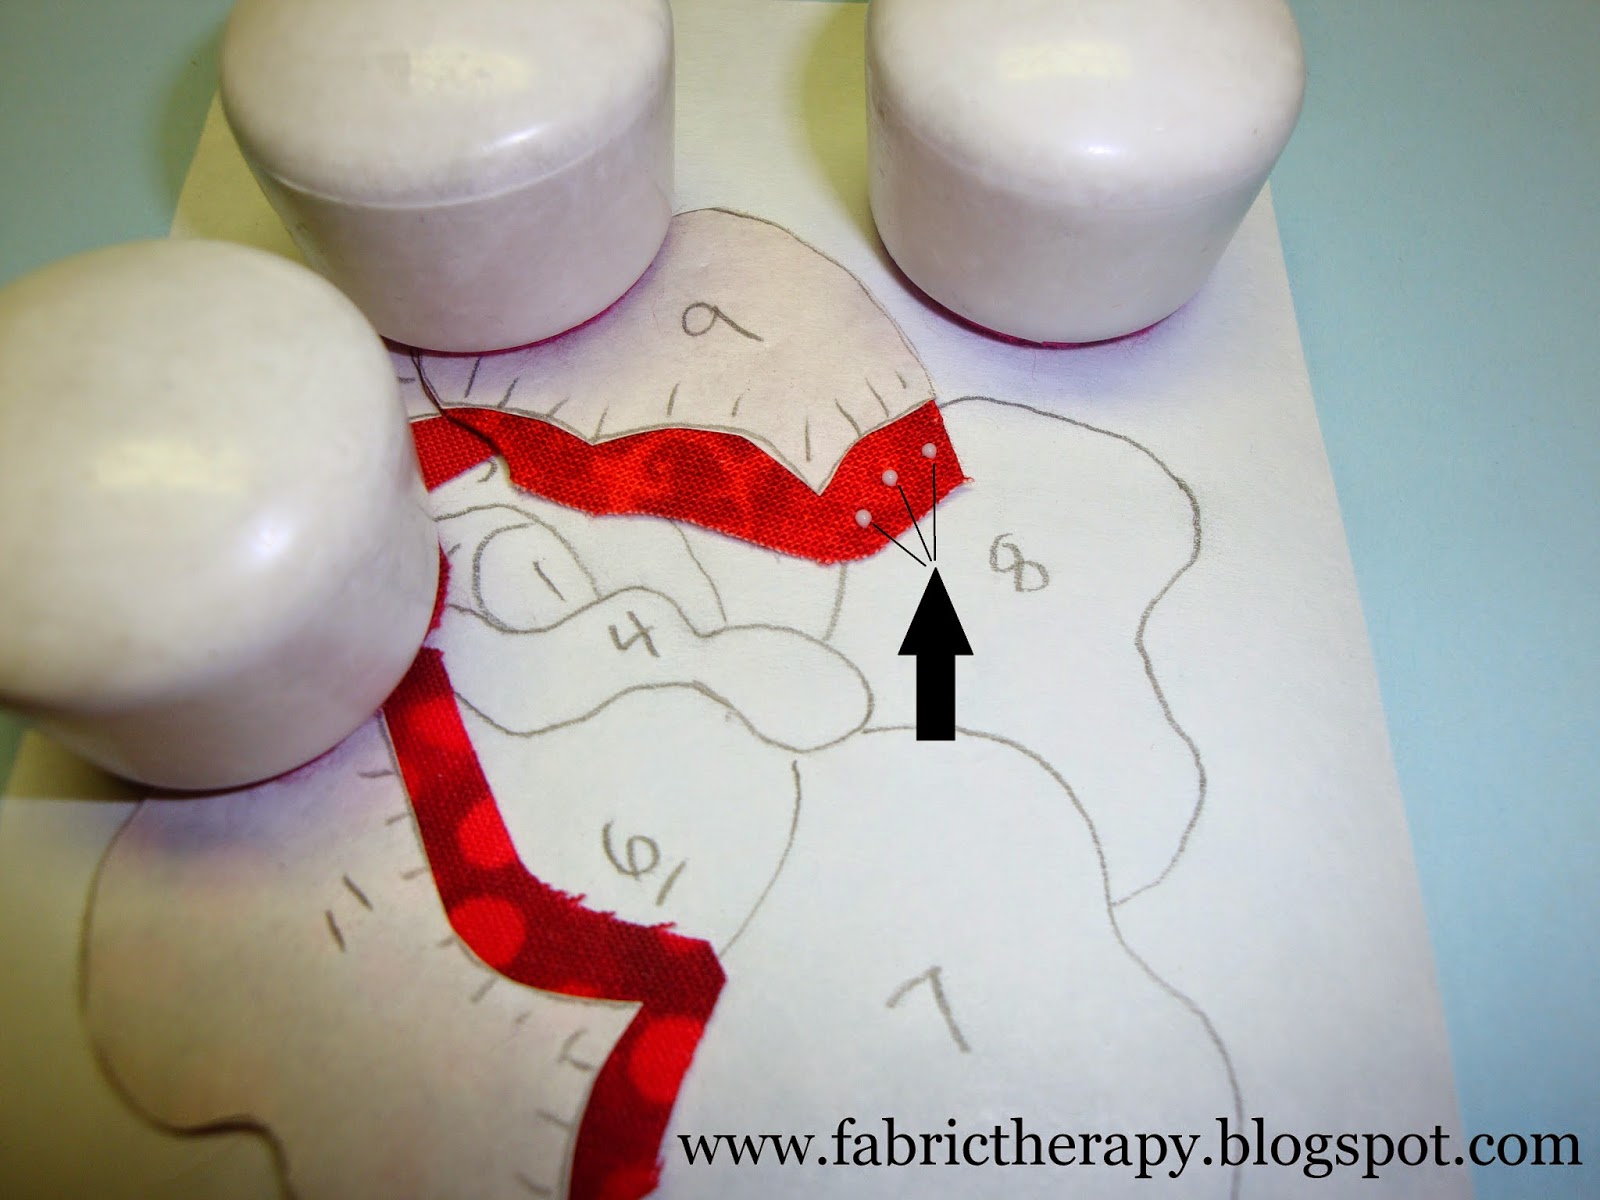
For this rose, I will make the center part, then set that aside while working on the outer petals. I use the edge of a weight to hold my initial piece still and stable. The black arrow tips show my perfect alignment (if I were to pull up the edges of the fabric, you would see that my pattern is placed perfectly over the drawing).
I used TINY drops of glue baste near the outer edge of the allowance, but away from where I will be stitching later (the glue flattens and I don't want to stitch through it, but I also don't glue too close to the edge because that would make my pattern messy).
Remember "DOT-DOT-NOT-A-LOT" when glue basting (thank you, Ola).
I use my beading tweezers (or long tweezers) to move these pieces around instead of my fingertips. I fit the yellow piece into place. Yes, the yellow piece is small, but I only had to glue one curvy edge under, which makes it a little bigger to handle.
The tweezers make picking things up infinitely easier. Trust me, I am a complete idiot with chop sticks, but I LOVE my tweezers.
When I pull up the edges of the fabric to check my alignment (at the black arrow tips), I am right where I need to be.
More TINY glue dots in anticipation of the next piece...
My patterns not only line up with the master pattern underneath, but also with the other adjoining pieces (see black arrow tips).
More TINY glue drops...
Another piece lifted into place by the tweezers...then I carefully adjust the pattern weight. It does not take long for the glue to hold enough to continue with the next piece. As long as I handle things carefully, I don't have to wait for the glue to dry completely to keep working.
Now I just lift this smaller unit to the side while I work on the outer petals.
I have drawn a yellow line about where the assembled sub-unit will go later...of the remaining petals, petal #10 appears to be the bottom-most petal, so I will start by anchoring that one with weights.
The black arrow tips show where I need to line up my #10 petal with the adjoining petals.
This time I will glue and place two pieces at the same time, petal #9 and petal #11...
Again, I check my alignment at the black arrow tips...
Now I will attach petal #8...
And again, I check my alignment both above and below the pieces on the master pattern...
Now the final outer petal #7 is in place and the weights are placed to hold everything for a couple of minutes.
Two more petals to go, first petal #6...
And now I will glue, getting ready for petal #5...
Again, I check my alignment at the black arrow tips...
Now I can glue my original sub-unit into place...
I applied my pattern weights and went to make a cup of tea...
It's like a jigsaw puzzle!
When the glue has set up a few minutes, I CAREFULLY remove my paper patterns to reuse them...first prying up the edges with my stiletto (awl) and then gently pulling them off with my tweezers, loosening as I go.
Some people use washers...I don't think a single washer is heavy enough. Most of the tutorials showing how to make weights with washers use 2 or more washers, covered with a yo-yo or wrapped with yarn or ribbon.
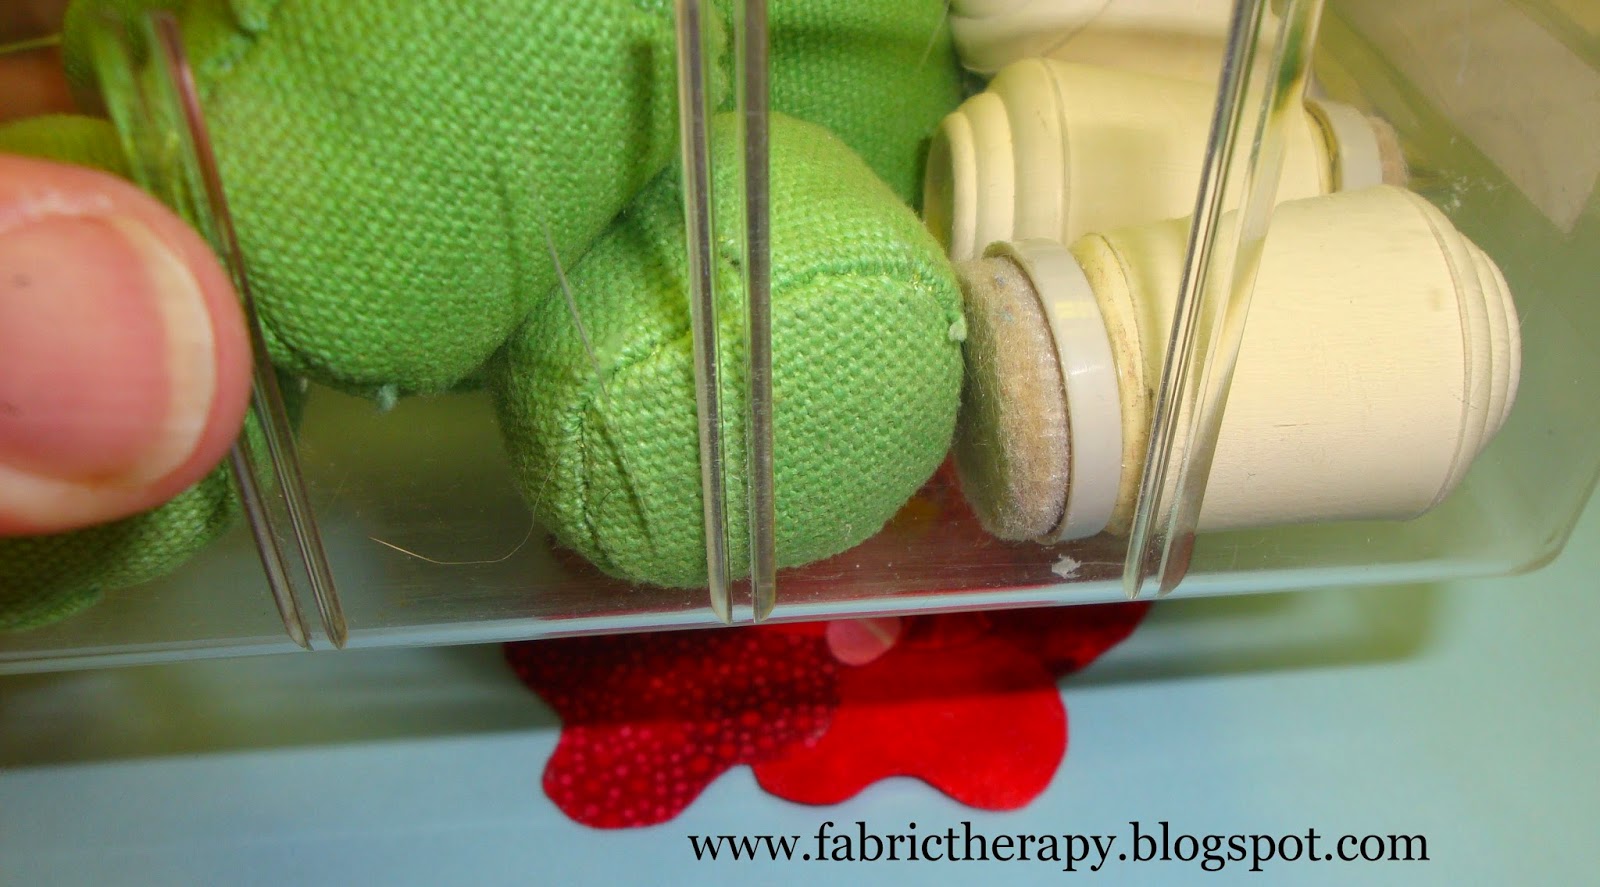
When working with a large unit, I just pile the weights back in their storage drawer and put the whole drawer on top for weight!
Since the finished, prepped rose will be a large applique unit and I will want to trim the background away before hand quilting, I will stitch all the petals together BEFORE glue basting to the background and doing the final perimeter stitching.
I'm pretty sure that this Monday is my day in the week-long Blog Tour for the launch of Quiltmaker's 100 Blocks, Volume 10 (still awaiting my confirmation email). It should be a FABULOUS week of blog reading and give-aways.
Check the link above every day to find the list of featured blog links. I will have fresh give-aways on my day (and announce my pre-mature give-away winners from last Monday - OOPS!) on my day on the tour.
It should be a good time for everyone!
In stitches,
Teresa :o)


Great tutorial. Are the flower edges already turned under? Just curious. Thanks in advance.
ReplyDeleteGreat tutorial! When Mom and I were sewing when I was growing up we always used pattern weights.......the dinner knives from the cutlery drawer!
ReplyDeletegreat tutorial. I have never used pattern weights and maybe I should give them a try!
ReplyDeleteWow... that is like a tiny meticulous jigsaw puzzle! And that is why you have prize winning work!
ReplyDeleteWhat a nifty technique! Very precise and awesome results. Thanks for sharing!
ReplyDeleteKerry
Thank you for the tutorial. I always enjoy seeing your appliqué work.
ReplyDeleteI have had those Dritz pattern weights for years but never thought about using them for appliqué.
ReplyDeleteGREAT tut. Would like to,see how you stitch this together before applying to the background fabric.
ReplyDeleteThanks for the tutorial. I need to go back and read the one about prepping your pieces.
ReplyDeleteI had some weights towards the end of my garment making days and liked them but gave them away a while after not sewing clothing any longer. Never would have thought of using them in applique.
ReplyDeleteWell, checked out your tutorials about prepping pieces and spent today working on an appliqué project that I had been stumped on. It has some very large pieces and just a small grid for layout. Your method helped me get all the flowers prepped and glued down. Thanks!
ReplyDelete